It's been a crazy summer! We redid our floors, organized, and purged! Once we got all of that done and were ready to start getting ourselves outdoors for some bike rides wouldn't you know that the rain just has not let up. Bummer!
With all that time spent staring out the window longingly, hoping for the slightest hint of sun, I spent some time online looking at lenses I'd like to buy for my camera. I've been wanting to try my hand at macro photography for some time now so naturally, I checked out some macro lenses. I found several which I'd love which all had one thing in common, phew are they expensive!
It's awfully hard to justify spending that kind of money on something I just want to try so I kept digging and I found some other very affordable and incredibly fun options! Extension tubes with or without electrical connections, reverse mount rings and close-up lenses. What each of these items does is allow you to focus in closer to your subject which allows you to fill the screen and not have to do post image cropping which can kill the resolution of your image. I chose to try out the extension tubes without electrical connections, and reverse mount rings.
Before I go into each of these options I'll say this about both options I tried.
- I personally need a tripod for most images unless it's incredibly bright out. Many people don't have this requirement but it turns out I'm a rather shaky person. I didn't know this before so through this process I have had a bit of self discovery here.
- Depth of Field, the area which is in focus, is tremendously reduced.
- Focusing to infinity is no more. With each of the options below there is a specific range in which you can geth your image in focus and that is it.
Extension Tubes
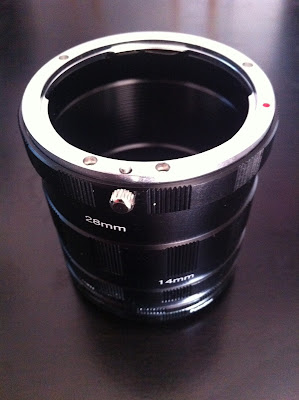
First off, the extension tubes. These are available with electrical connections ($50-$200 or without the electrical connections ($12). I opted to try without the electrical connections. What's the difference? The electrical connections allow you to use your lenses auto-focus and aperture settings. Both of these have work-arounds without electrical connection tubes. For focusing, you just use the manual focus, that's rather simple and I'd more than likely choose to use this regardless. For the aperture, it's a bit trickier. I'm using a Canon 60D camera, so what I say next pertains to that specific camera. First, I mount the lens directly to the camera without the extension tubes, next I change the aperture to the desired setting. Third, I hold down the depth of field preview button and while continuing to hold the dof button down, remove the lens. This can be a bit tricky and it tests my coordination skills a bit so it's good if you hold the camera over something soft or close to a table so that if you drop the lens or the camera they won't get damaged.
When you first start playing with the tubes you really don't have to worry about the aperture but after I used them a bit I started wanting the aperture changed. The reason I did is that while using the extension tubes, your depth of field is really REALLY small. How small? If you're taking a photo of a fly, for example, if you're focused on it's nose, it's eyes may be out of focus, that's how small.
So, first you mount the tubes on your camera, then you mount your lens on the tubes and you are ready to go! I have three lenses and I tried each of them with very different results.
First I tried my Tamron 18-270. Hmmm...I just didn't care for this one. I may try it again at some point but it just didn't give me what I was looking for.
Second, I tried my 50mm, or nifty-fifty as many call it. I loved it! I had exactly what I wanted and can get so close to my subject that there is no need for any cropping the image after the fact. The downside, you HAVE to get very close to your subject in order for it to be in focus, this makes most living subjects flee, bummer!
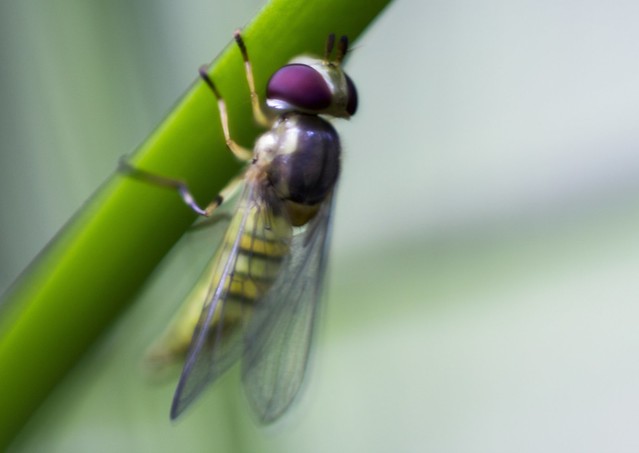 |
| Bee-Mimic Hoverfly |
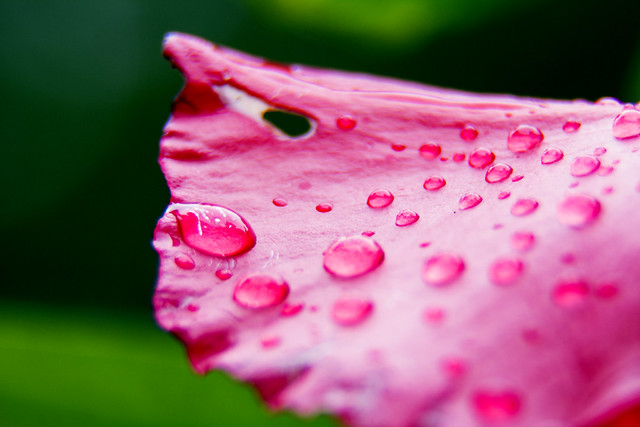 |
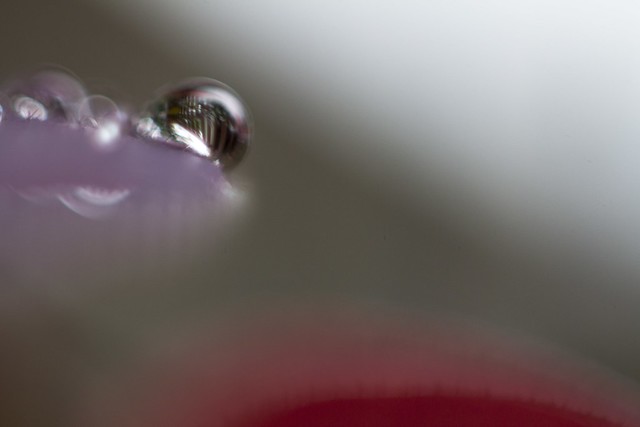
| Rain Drops on Flower Petal |
 |
| Flower Unfolding |
 |
| Pepper Blossom |
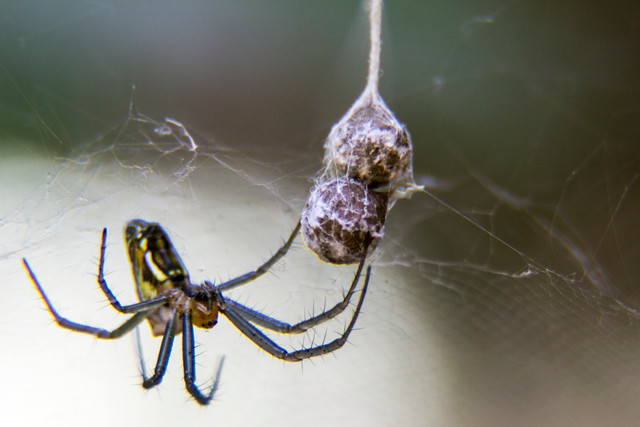 |
| Writing Spider |
Third, I attached my 18-135 kit lens. I almost sold this lens and am now incredibly happy that I didn't! For living subjects, this has by far turned out to be the best option for me as it allows me more working area so I can be further away from my subject.
Here are some GREAT examples of cases where I didn't want to get TOO close:
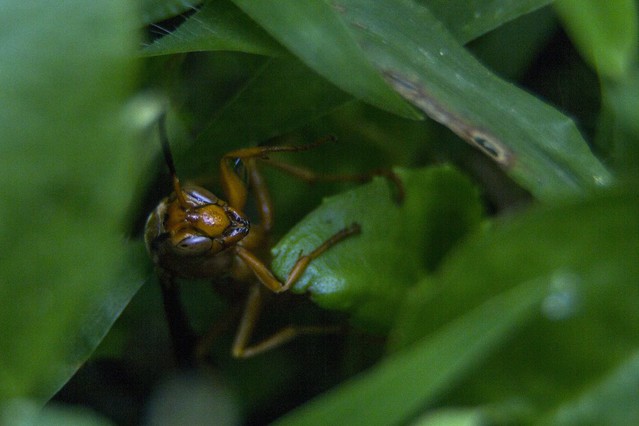 |
| Wasp Climbing Up Out of the Grass |
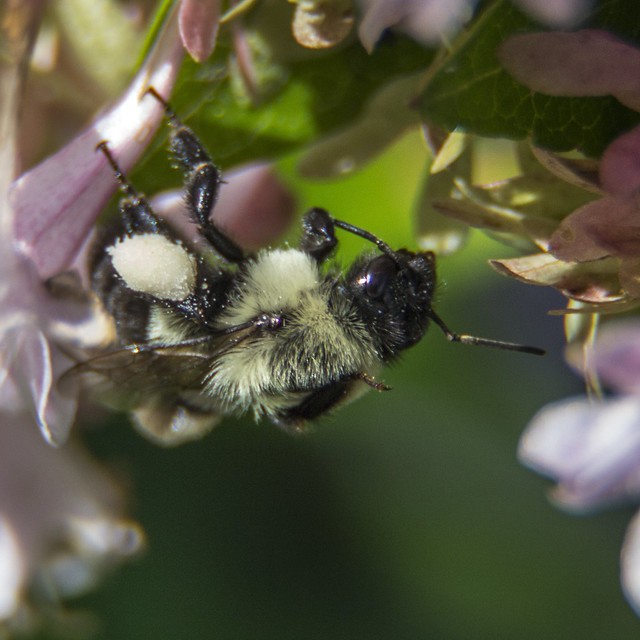 |
| Bumble Bee |
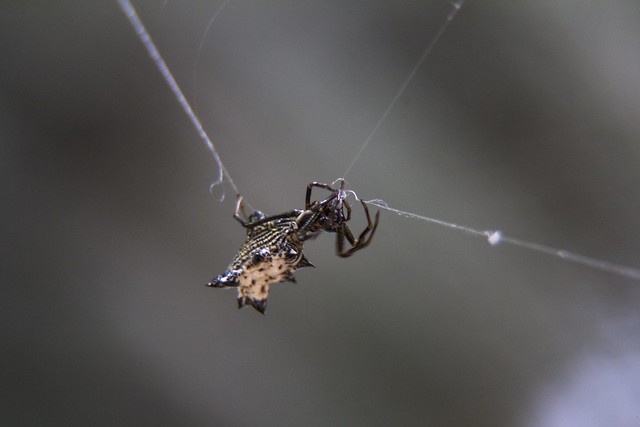 |
| Spiny Orb Weaver |
 |
| Grass Hopper |
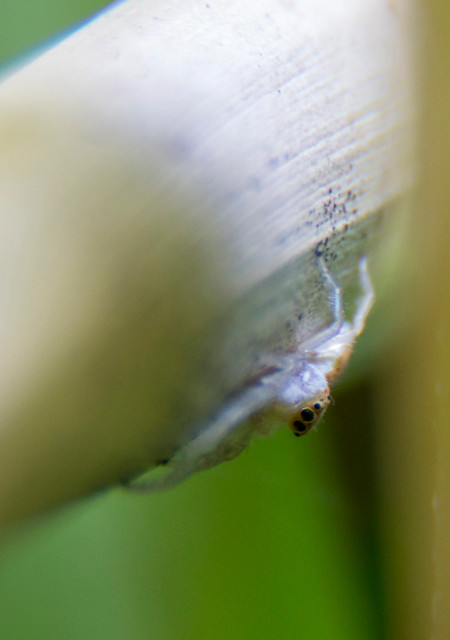 |
| Jumping Spider |
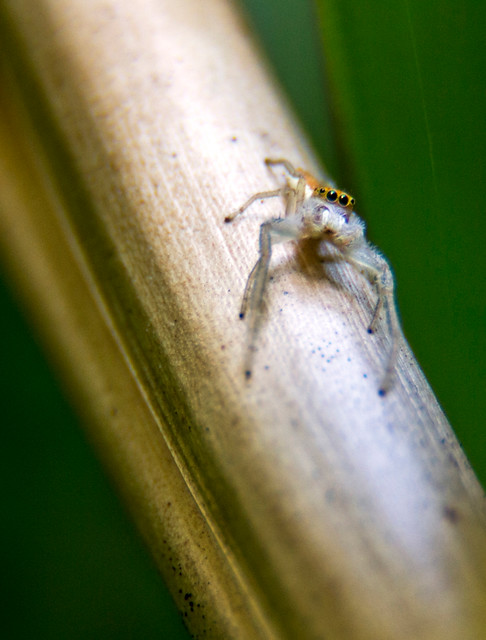 |
| Jumping Spider |
 |
| Ant with their "Cows" of Aphids (They keep them like cattle and milk them for the nectar they produce.) |
Reverse Mount Rings
The first thing about these which you need to know, if you choose to try them, is that since they attach directly to the front of each lens, you need a different one for each of your lenses. For example, I need a 62mm ring for my tamron lens, a 67mm ring for my Canon 18-135 lens, and a 52mm ring for my 50mm lens. I couuldn't find the 67mm so I purchased the 62mm and 52mm rings.
First, you screw the ring onto the front of your lens, next you mount the lens backwards onto the front of your camera.
What the reverse mount rings do is double the focal length of your lens and makes it a macro. I can get amazingly close with my 18-270 lens, however I don't use it very often. Maybe I just haven't found the right subject for that one. It's length makes it rather cumbersome and with a telephoto mounted backwards, operating can be rather amusing, hard to get the hang of (for me anyway), and cumbersome. I prefer using the 50mm reversed and have been able to get a few rather interesting shots that way.
|
|
Rain Drop with Reflection of walkway
|
Extension Tubes AND Reverse Mount Rings
You can get amazingly close using both together! I haven't done this very much as it's been a bit closer than I have wanted to get, however it's great fun to try and you can get some reallly interesting shots this way.
 |
| Pepper Blossom |
___
Maybe one day I'll get some shiny new (or new-to-me) macro lenses but in the mean time I'm sure having a lot of fun playing around with my new toys!